The first ten minutes on a new platform are the make-or-break moment. If you fumble the prompt, run out of credits, or get lost in the UI, you don't come back. This guide is designed to get you to a successful first generation as fast as possible — and to make sure that first generation is one you actually want to use.
By the end of this walkthrough, you'll have: an account, your first image, your first short video, and a clear sense of what to do next.
Minutes 0–2: Create your account & pick a plan
Go to the MiniMax token plan page and pick the tier that matches your intent:
- Starter ($9/mo) — for learning and low-volume experimentation. No API access.
- Pro ($39/mo) — for working creators who want the full multimodal stack and API access. Most people start here.
- Business ($199/mo) — for teams producing AI content at scale.
Sign up with email, Google, or GitHub. The first time you sign in, the platform will ask you to verify your email — click the link, then come back.
Tip: If you're not sure which plan, start with Starter. You can upgrade with one click and the price is pro-rated. Don't over-buy for a first try.
Minutes 2–4: Tour the dashboard
When you land in the dashboard, you'll see a left-side menu with the main sections. Here's what each one does:
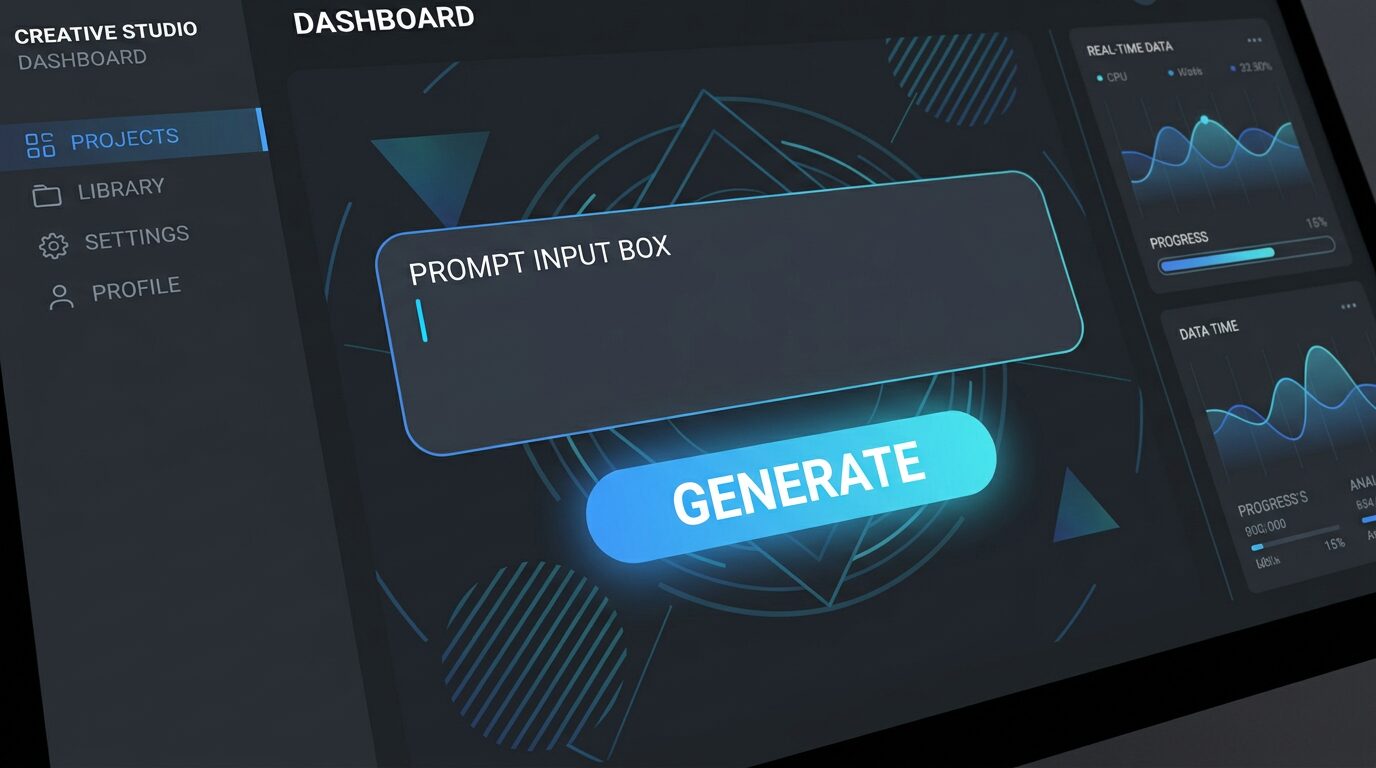
- Studio — the main workspace for prompts and generation. This is where you'll spend 90% of your time.
- Library — every output you've ever generated, organized by date and project. Bookmark this — losing good outputs is a common newbie mistake.
- API — your API keys, usage stats, and rate limits. Empty until you generate a key.
- Billing — your plan, token balance, and invoice history.
- Settings — team seats (Business+), default generation preferences, account security.
Click around once. Don't optimize — just get a feel for where things live.
Minutes 4–6: Your first image
Click Studio. You'll see a prompt box, a model selector, and an aspect-ratio dropdown. Here's the exact recipe for a good first generation.
- Pick the image modality from the tabs at the top.
- Choose an aspect ratio. 1:1 is the easiest to evaluate. 16:9 is better for blog headers.
- Paste this prompt into the prompt box:
"Studio product photograph of a ceramic coffee mug on a wooden table, morning light from the left, soft shadows, minimalist background, 35mm film aesthetic, slight grain"
- Click Generate.
You should see a result in 5-15 seconds. If the result isn't what you wanted, the most common fix is to add or change a single word in the prompt — not to rewrite the whole thing. Try "ceramic coffee mug with steam rising" and regenerate.
Save the output you like. The first one is rarely perfect, but you'll learn the platform's "voice" within three or four generations.

🔥 Quick tip: Specific beats generic every time. "A woman in a red coat" is worse than "a woman in a red wool coat, walking through a Tokyo crosswalk at night, neon reflections."
Read the prompt guide →Minutes 6–8: Your first video
Switch to the video tab. Video takes a bit more compute than images, so it's worth being intentional about your first one.
- Pick a short, specific motion. "A wave crashing on rocks" or "leaves falling in slow motion" are both good starting points.
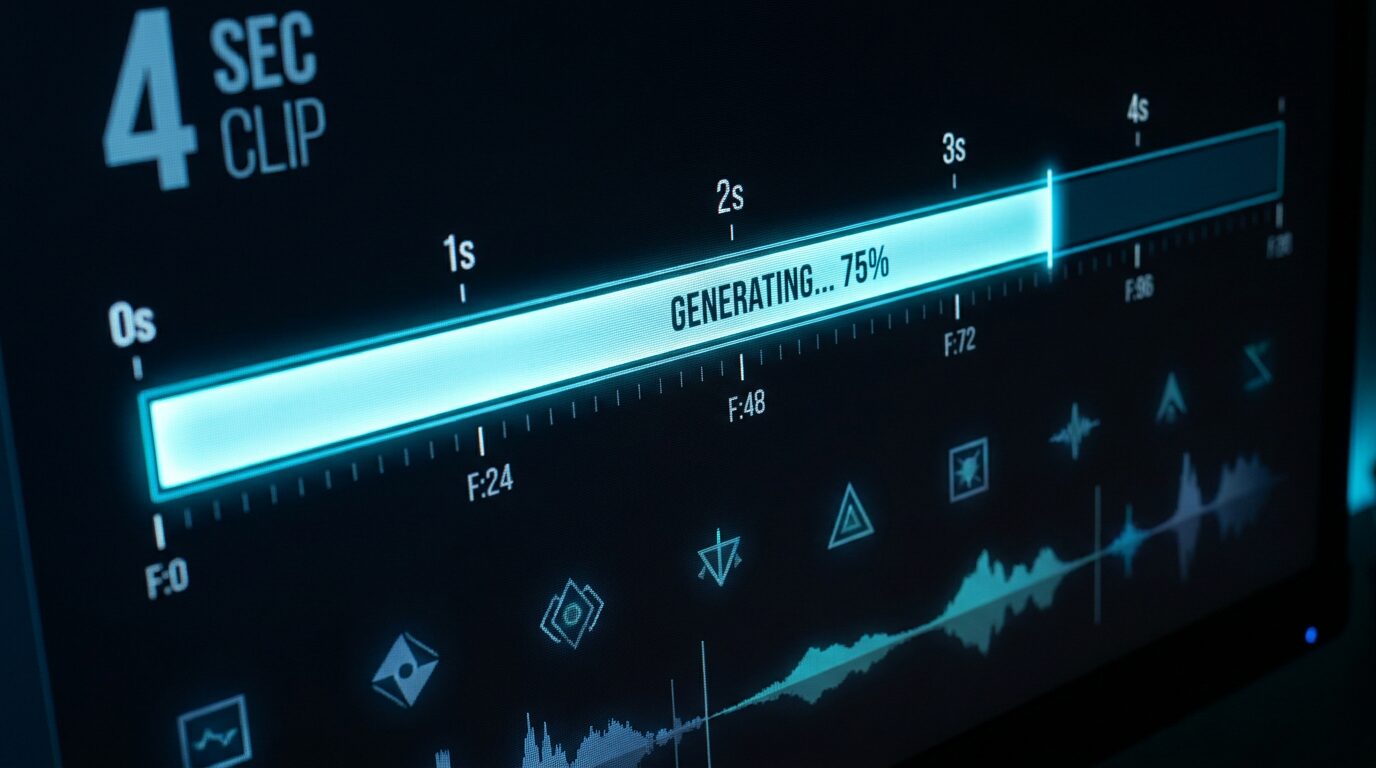
- Keep the duration short (4 seconds) for the first try. You can always extend it once you confirm the platform can do what you want.
- Use this starter prompt:
"Slow motion close-up of raindrops falling onto a windowpane at night, soft warm light from inside the room, shallow depth of field, cinematic"
- Click Generate and wait. Video takes 30-60 seconds for a 4-second clip.
The output will play in the studio. You can loop it, rewind, and download when you're ready. If the motion looks wrong, regenerate — video models have natural variation per run.
Minutes 8–10: Export & set up the API key
Now let's lock in the two things that matter for production: export format and API access.
Export
Click your generated image or video, then the download icon. You can pick:
- PNG for images (lossless, ideal for editing)
- JPG for images (smaller, ideal for web)
- MP4 for video (universal compatibility)
- MOV for video (better for editing software like Premiere or Final Cut)
Pick what fits your workflow. Most creators stick to MP4 for video and PNG for any image they'll edit later.
API key (Pro and above)
- Go to API in the left menu.
- Click Generate new key, give it a label (e.g., "local-dev"), and copy the key somewhere safe.
- The key is shown once. Store it in a password manager or environment variable — not in a public repo.
You now have everything you need to call MiniMax from a script. A working Python snippet is in our API integration guide, and the token plans explainer shows what your new key can actually do at each plan tier.
What to do next
Ten minutes in, you should have: an account, your first image, your first video, and an API key. The next week is where the real learning happens. Here's a short, high-leverage curriculum:
- Day 1: Generate 10 images from the same prompt with one word changed each time. Notice how "studio", "moody", "minimalist" change the output.
- Day 2: Try image-to-video: take a generated image and feed it as the first frame of a video prompt. This is one of MiniMax's strongest features.
- Day 3: Try the text-to-speech tab. Pick a voice, paste in a paragraph from a recent article, and listen. Most creators are surprised how natural it sounds.
- Day 4: Hit the API with a one-line script. The feeling of generating from your own code is the unlock for everything that follows.
- Day 5: Try the prompt guide for advanced prompt structures.
By the end of week one, you'll have a real feel for what the platform is good at, where it struggles, and how it fits into your workflow.
Frequently asked questions
Do I need a credit card to start?
It depends on the current MiniMax onboarding flow. Some regions offer a free trial with no card; others require a card up front. The Starter plan is low-cost and you can cancel any time.
Which plan should I pick for a first try?
If you just want to learn, Starter is fine. If you think you'll generate more than a handful of assets in your first month, Pro is the better value and unlocks the full multimodal stack.
What should I generate first?
A short, specific image prompt is the fastest way to feel how the platform responds. A "studio portrait of [object] in [lighting style]" prompt is a great first test.
Can I use the API right away?
API access is available on the Pro plan and above. After subscribing, generate an API key in the dashboard and you can hit the REST endpoints within minutes.
Is there a free tier?
Free tiers change periodically. As of mid-2025, the Starter plan is the cheapest entry point and gives you a real token bundle to work with.
Conclusion
Getting started with MiniMax is fast on purpose. The platform wants you generating within minutes, not hours — and the dashboard is built around that philosophy. The biggest mistake new users make is over-planning. Pick a plan, generate a prompt, see what comes back, and iterate. The platform rewards specificity and motion, and the fastest way to learn both is to just start.
Once you've got your first generation saved and your API key in your password manager, you're ready for the real work.
Open the dashboard and start generating
Pick a plan, paste a prompt, watch the magic. Most people have their first useful output within five minutes of signing up.
👉 Get Your Token Plan Now*Affiliate link — we may earn a commission at no extra cost to you.